Showing posts with label Recipes. Show all posts

Saturday, January 4, 2014

Let's get to waffeling!!!

For Christmas I received a super duper cool Belgian waffle iron. Not just any waffle iron, but one of those fancy smancy ones that flips over while it cooks. Eh that's no so fancy you say, well it makes two of those deep Belgian style waffles at the same time!!! See told ya it was fancy!!! Anyway I immediately created a new board on Pinterest and started pinning waffle recipes. First I made Belgian waffles for breakfast, from a mix. They came out great. Just like at the hotels Ash said! But today I wanted to try something different that Pillsbury pinned. Don't judge me for looking at Pillsbury pins! Look them up they have some great pins! Anyway they pinned cinnamon roll waffles and of course I wanted to try it. It had mixed reviews but I decided to give it a go, and me and the kids are glad I did!


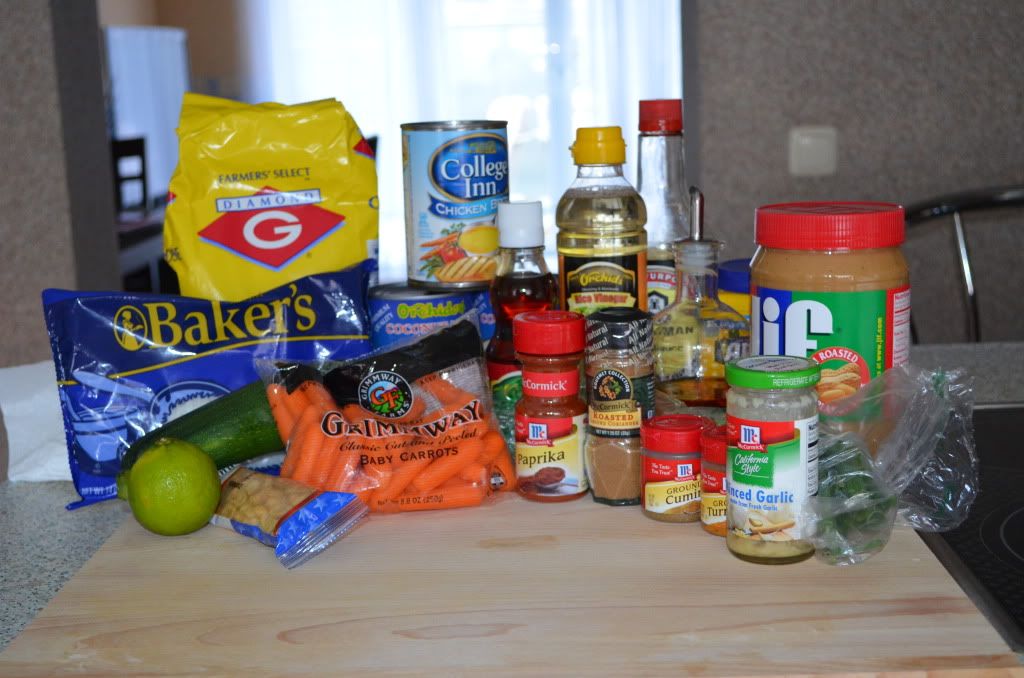
Super simple just need regular size cinnamon rolls, melted butter, and a waffle iron. You can use nonstick spray but I don't like the residue it leaves on the sides so I only use butter or oil in my waffle iron. 


Super simple just need 3 things!
                           

Warm up your waffle iron and grease up the plates! Then you are ready to get to cookin! Smash the cinnamon roll down a bit so it's a little thinner and place a roll in each well cinnamon side down.


Drop those babies in there and let em cook!
                                                 

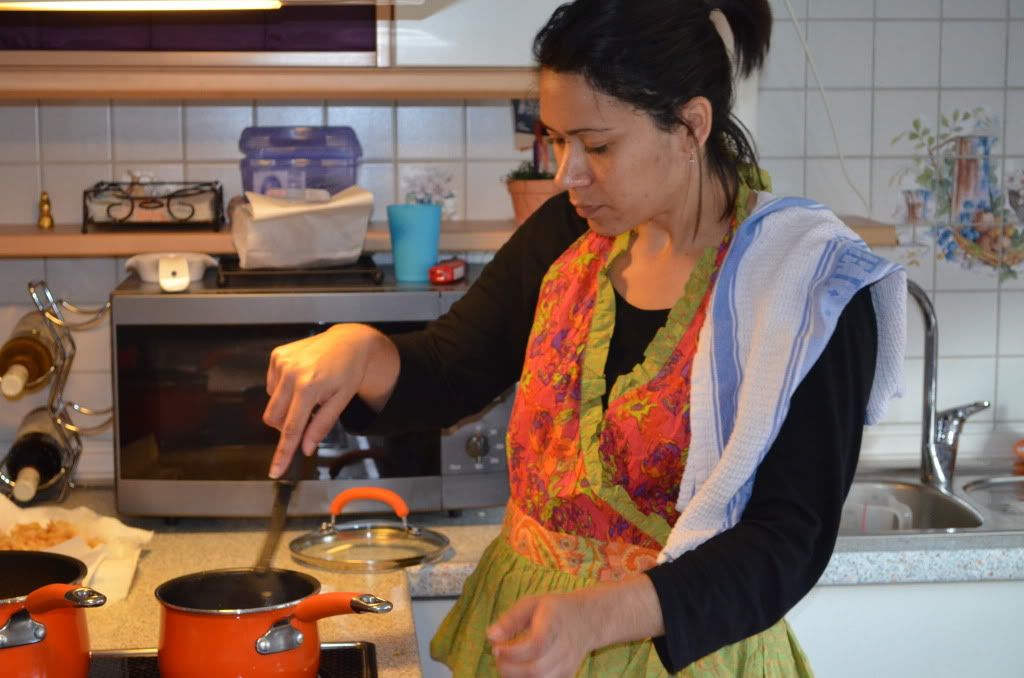
Then close the lid and flip that baby over! Repeat the same thing for the other side.  Yes my waffle iron has two sides, that's how I roll! Cook the cinnamon roll waffles for about 3 minutes. I cooked mine on the lowest setting possible. Check them after 2 minutes, you want them still a bit soft. They should be a pretty golden color kinda like me! Or like the picture. Before you do a second batch make sure you re-grease the plates. You don't want the cinnamon to stick to the waffle plates. That would be a mess to clean up and y'all know I don't like cleaning!

 
Nice golden Nichole color!


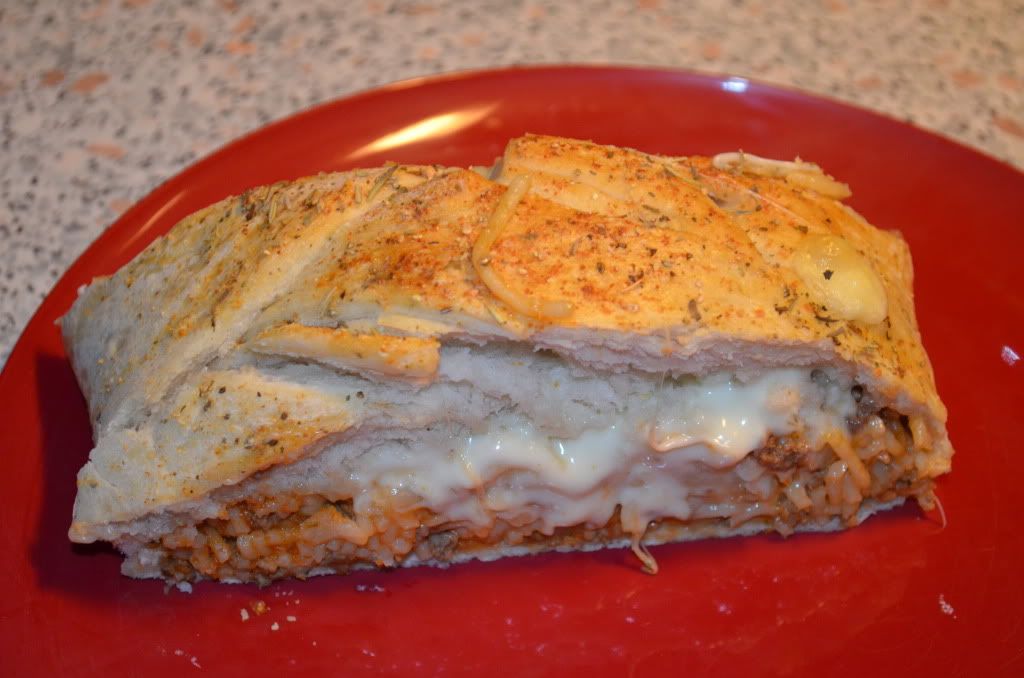
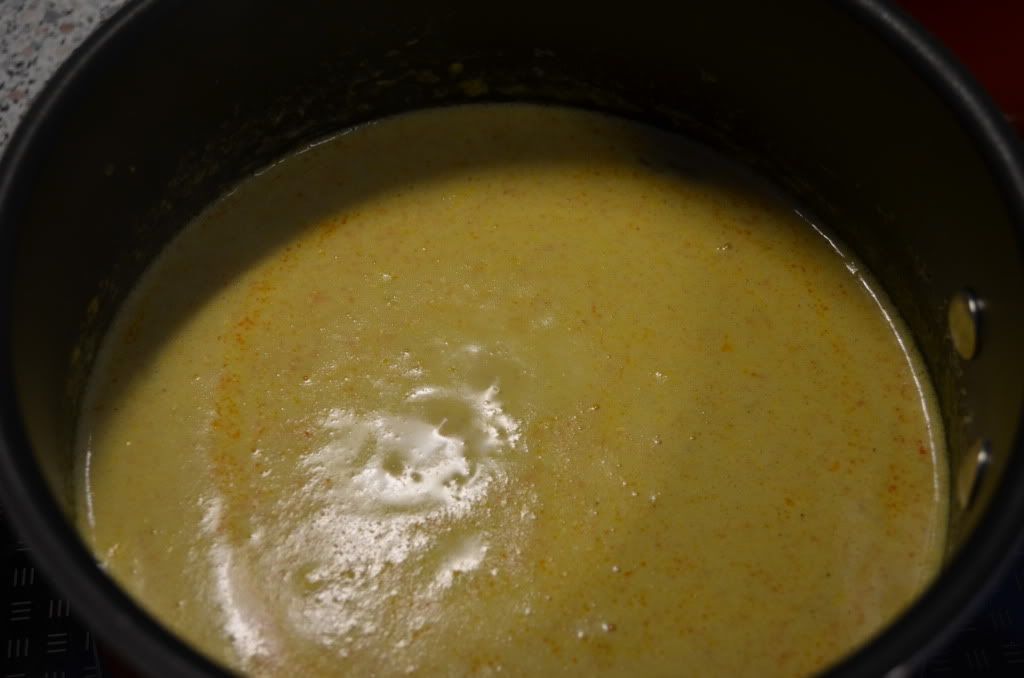
Doesn't that look amazing?!?! I wish you could taste them. So warm and delicious all cinnamony! Ok moving on, take them out and plate them up and in the meantime warm up that little cup of frosting in the microwave for 10-15 seconds. Don't forget to take the metal lid off! Y'all laugh but I know some of you personally which is why I'm reminding you! :) 

Pour the frosting over your cinnamon roll waffles and you have a little bit of cinnamon heaven! The frosting fills up those little waffle pockets and it's just amazing! 

Yummy frosting cinnamony goodness!

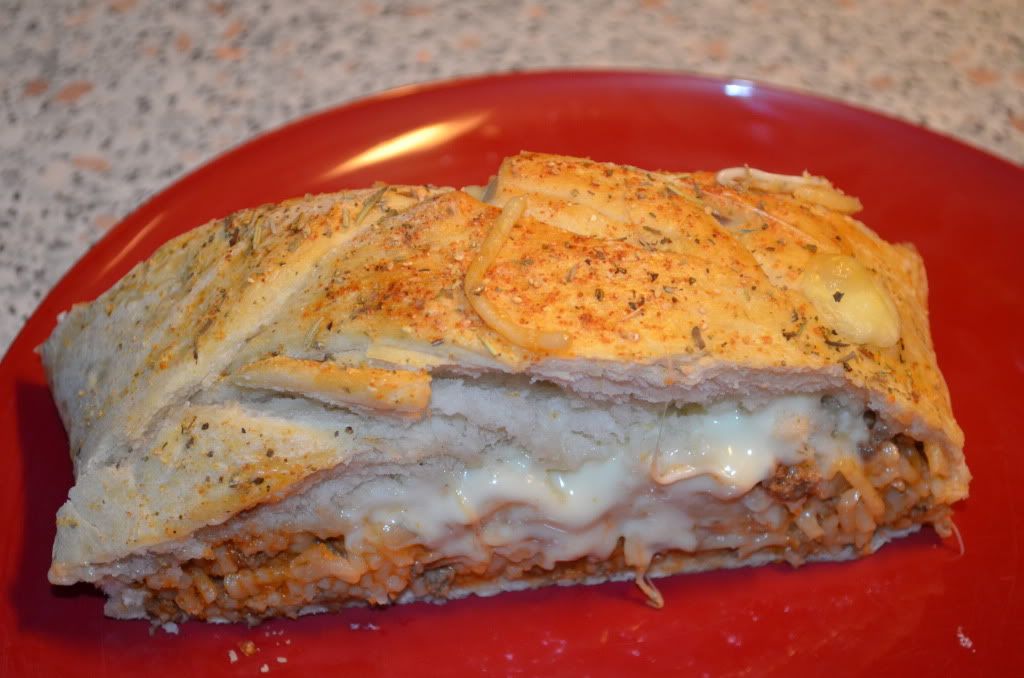
See I told ya look at all the cinnamon deliciousness! It just disperses all throughout the waffle and they are fantabulistick! Don't take my word for it try it yourself!! These were a hit in my house. They were super simple to make and were way faster than waiting for them to bake in the oven. I am not sure how they would be with homemade dough since that would be much softer but maybe I will try it over the summer. Yes I said summer I'm not going to lie to my wonderful readers I have no intention of trying that anytime soon! I will however make these again anytime the kids ask, and I suggest you do the same, unless you have started some crazy weight loss plan since it is January, and in that case then you can make them in February!


Go make these right now!


Sunday, April 15, 2012

Oh my gosh Spaghetti Bread

Spaghetti Bread

Bread, cheese, and spaghetti simply ahhmazing!!
By now you all should know that I am totally addicted to Pinterest. Many nights I lay in bed looking at stuff to make on Pinterest. What I realized the other day is that most of my pins are food. Hmm why is that??? Other people pin dream homes, clothes, crafts, but me I pin dinner, desserts, snacks, muffins, pretty much all things food! I came across this pin while staying in TLF at Barksdale and just now got around to making it. Let me tell you it was worth the wait! Sorry I didn't take step by step pics but if you check out this link you will find the recipe and directions.

The recipe called for Rhodes frozen bread dough, but they don't sell that over here, so I made my normal bread machine pizza crust dough. I used about half a pound of ground beef, and Newman's Spaghetti sauce. My oven is pretty small so I had a hard time finding a pan to fit the bread on so I ended up using a cookie sheet.

To assemble, you roll out your dough into a rectangle, let that rest while you cook your spaghetti and meat. I then mixed the meat, sauce, and spaghetti. Pour the mixture down the middle of the rolled out dough and top with cubed mozzarella cheese. Next you will cut the sides of the dough into strips every 1 1/2 inches. Don't cut the dough all the way to the spaghetti stop about 1/2 inch from the spaghetti. Pull the end up fold over and take each strip and start braiding. It was pretty easy once you start. Just one side over the other. When you get to the end just tuck the dough under. Brush with egg white for browning and sprinkle Parmesan cheese and Italian seasoning over the top.

All braided and ready to bake!
Bake at 350 for 30 minutes or until done. After 30 minutes my dough was fully cooked. As I said I have a small oven and I had to turn my braid several times once the dough started rising it actually hit the oven door!
Cooked!!!

This was a hit in my house, but then again we love bread, and cheese so you can't go wrong with adding spaghetti! Will for sure make again. I think I will experiment with fillings next time.

Friday, April 6, 2012

Homemade Bang Bang Chicken and Shrimp

Bang Bang Chicken and Shrimp!!


I love, like seriously love the Bang Bang Chicken and Shrimp from Cheesecake Factory. Since I now live in Germany I do not have the option of running to my nearest Cheesecake Factory and ordering my favorite dish. Yeah the little things I have to sacrifice in order to enjoy my 3 year European vaca! Anyway, I scoured the Internet until I found a copycat recipe for my fav. dish and decided to try it tonight. I ran into a few snags with the ingredients. For one, the commissary did not have any chili oil, so I had to make my own. Again, google came in handy and it was fairly simple. My oil was not as spicy as I wanted, so next time I will use hotter peppers and allow it to infuse longer. I also was unable to find mace. Again google to my rescue, I subbed nutmeg for the mace. The rest I was able to find. Dinner was delish, but was not as spicy as the CCF, so I added some red pepper flakes and it was pretty darn close!


All of the ingredients except the chicken and the shrimp. The sesame oil was not used since I made the chili oil.


To make the chili oil, cook oil until it bubbles, add chili peppers, let sit for a while, strain and pour into a jar or bottle.


Curry Sauce which goes on the chicken and shrimp around the rice.


That's me!! I am making the peanut sauce. Well actually Ashleigh was making the peanut sauce, but she didn't want to be in the picture she ran away as soon as the camera came out.


My favorite part, the toasted coconut! Yumm I could eat that whole pan!!


Finished product! Add the the red pepper flakes and it was pretty darn good if I say so myself!!


I found the recipe here, but made some changes by making my the chili oil, and using nutmeg instead of mace. There are some mistakes in the recipe and a few things listed in ingredients that were not on the directions but not hard to figure out.
http://www.firehow.com/2010102820891/how-to-make-cheesecake-factory-copycat-bang-bang-chicken-and-shrimp.html


Thursday, March 22, 2012

Easy Peasy Chicken Flautas

I <3 chicken flautas. A long long time ago I tried to make them. I was young and had them at Chevy's and figured I can make these at home so I put some chicken in a tortilla and dropped it in the deep fryer. All the chicken fell out of the ends of the tortilla. Dinner sucked that night. Since then I have experimented and most nights my flautas didn't come out too well. So I saw a pin on pinterest and though oh how cool a baked version. The pin took me to a link on all recipes. I wasn't crazy about the recipe posted there so I just made up my own and here you will see what I got.


Sorry forgot a picture of ingredients.

4 bone in chicken breasts
1 pkg McCormick Hot Taco Seasoning
20 Corn Tortillas
Monterey Jack Cheese
Taco Cheese
Oil
13x 9 Pan sprayed with cooking spray


First I boiled 4 bone in chicken breasts for about an hour. Then I shredded the meat and mixed a pkg of McCormick's hot taco seasoning along with 3/4 cup of water with the shredded chicken.

Taco seasoned chicken


While the chicken was simmering, I softened 20 corn tortillas in oil for about 15 seconds. I just covered the bottom of the pan with oil and heated the oil on medium until hot. Dropped a tortilla in there and flipped it over after a few seconds. I normally would have seasoned the oil with chili powder but I have yet to restock the spice cabinet since the big move so it was plain oil for me. Soften all tortillas and drain them before moving on to the next step. I drain them between coffee filters.

Fry each side for just a few seconds


Once all your tortillas are softened and drained, then you can begin to assemble them. I don't measure I just dump some chicken and lots of cheese in the middle of the tortilla and roll it up. Put it seam side down in the pan.  Repeat for the other 19 tortillas.

All wrapped up before going into oven


Bake in 375 degree oven for about 20 minutes or until flautas are golden brown or as crispy as you would like.

After being baked

My family likes a lot of cheese so I added some cheese to the top. I served my flautas with black beans, Spanish rice, home made salsa, lettuce, sour cream, and guacamole. Easy peasey and none of the chicken fell out!

Yummo!!!

A few notes: No they don't shrink, I had too many in the pan so I had to take some out and put them in two pans so what you see in the first pan is before I removed and made a second pan. If you want the original recipe from all recipes you can find it Here

Sunday, March 18, 2012

Chocolate Hazelnut Coconut Bars

This is the first weekend that I am all moved in an unpacked in my new house in Germany! So of course that means that it is time to bust out the kitchen aid and make something! Pillsbury is oh so kind and emails me all these delicious looking recipes that I normally just glance at and ignore. However, this time one of the recipes included Nutella. Yes Nutella that yummy gooey, spready chocolatey goodness in a jar. Of course I couldn't ignore that recipe. So I ran to the commissary as fast as my tiny car would take me and bought everything I needed to make the Chocolate Hazelnut Coconut Bars.


Here is what you need:

1 roll Pillsbury® refrigerated chocolate flavored chip cookie dough
1 jar of  Nutella divided into 3/4 cup and 1/2 cup
1 package (8 oz) cream cheese, softened
1 Egg
1can 14 oz Can of Sweetened Condensed Milk
3 Cups shredded coconut
1 Teaspoon Vanilla
3 Tablespoons Butter
1/2 Cup toasted shredded coconut
Preheat oven to 350
The recipe is pretty easy to make, however it is a bit time consuming. First thing you need to do is make the first layer. Allow the cookie dough to set out for 30 minutes before starting. Mix the cookie dough with 3/4 cup of the Nutella. The dough will be very stiff. Once mixed together, press mixture into the bottom of a 13x9 pan. Bake for 10 to 15 minutes or until golden brown. How in the heck  you are supposed to bake until golden brown I have no idea, since it is already dark brown. So I just baked it for 13 minutes. Allow this layer to cool for 30 minutes.
While the first layer is cooling, use electric mixture to beat cream cheese and egg white until smooth. Add sweetened milk, vanilla, and 3 Cups of shredded coconut. Beat until well blended. Pour mixture over baked layer. Spread completely over baked layer.


 Bake for 35 to 40 minutes or until light golden brown and set. Cool completely(around 1 hour).

For the final layer, mix the remaining 1/2 cup of Nutella and 3 Tablespoons of butter in a small saucepan over low heat stirring constantly until melted. Spread over cooled cream cheese layer. Top with toasted coconut. Refrigerate for at least 30 minutes or until chilled. Store covered in Refrigerator.
Try Try Try to not eat too many of them. They are super super duper delicious! Enjoy!!!!!!

Pin It

If you want a printable version of this recipe you can get it from the Pillsbury website Here 
BTW to toast the coconut throw it in a pan and bake it at 375 for about 10 minutes, stirring occasionally.

Saturday, January 7, 2012

The Best Chicken Nuggets you will ever make!

So one day I was on Pinterest for a minute, or two, or 180, because really who gets on pinterest for a minute? Don't lie you know you get on there for a second and an hour or two later you are thinking "crap I'm still on here???" I came across a pin for chicken nuggets that taste like the place that advertises with cows. I decided to try it for our traditional appetizer, AKA eat nothing but junk food, Christmas Eve dinner. Oh Em Gee they were so freaking good!! So good that we couldn't bare to throw the leftovers away so we took them on our road trip and my kiddos ate them cold! Said they were even better. Now if only I would have had the stuff on hand to make the copycat Polynesian sauce! That will for sure be on the list for next time! I tried to take a picture but as you can see they were really really good and by the time I got back with the camera some were gone!

Pin It

Here is the link to the recipe:
 Now go ahead run to your nearest grocery store and buy some chicken and prepare to make your own
chicken nuggets! BTW I did not use peanut oil, I used plain old best blend oil.